Showing posts with label Altered Fabric. Show all posts

Saturday, May 26, 2012

Studio Progress

I wanted to wait and show pictures of the completed studio but things are not going quite as quickly as I had hoped. I keep apologizing for not posting and making up excuses, but the truth is my health has not been great. I had hoped that I could keep up but it really has slowed me down. So I am going to have to just admit that I just can't keep up the pace I have in the past. I love sharing my free printables and I do have so many goodies to share so please forgive me and I will post them as often as I can. Once I get the work on the studio done, I should be able to get some goodies up a little more often.

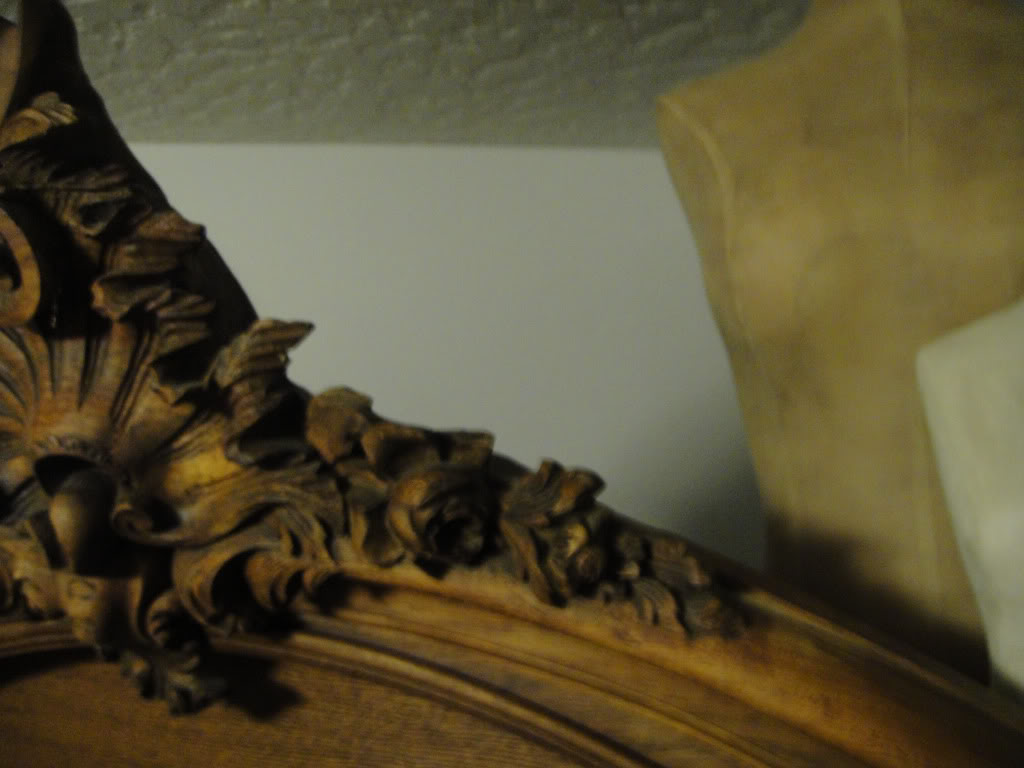
This is what I started with. I found this awesome bedroom set on craigslist. It had fallen off the truck while being moved so it was in sad shape. The amour's door was missing and someone had put shelf's in it to use it for a bookshelf. There was trim missing on top. a broken drawer in the bottom that did not even match and one foot was badly worm eaten. The trim on the headboard had been busted and some of it was missing. There was a foot board too but it did not get into the picture. The set of drawers were missing some of the nobs and had the top replaced with an odd marble.


But my hubby is handy dandy. He cut the top down on the amour to eliminate the missing trim and also because it was too tall for my studio. The foot board had the same carved feet as the amour so it took one from it and replaced the destroyed foot on the amour. Then he took out the drawer and replaced the shelf's with some oak that he stained the same color. Since I haven't gotten to the decorating stage, it is covered with junk so the finished picture will have to wait.. but it is good!   


Then hubby used the headboard and the piece that went across the bottom of the foot board to make me a desk. We used legs from a table that I had picked up at the thrift shop and some antique picture frame trim that I had found at a yard sale a long while back. He designed a keyboard mechanism so that it disappears up under the desk when not in use.


I have ordered a glass top to fit but for now I am just using a glass cutting board to protect the top until it comes in. As you can see by the pictures, I had a hard time choosing the wall color but after painting three times, I settled on chocolate brown :))


These baskets have really taken me some time since there are eight of them. I found them at Homegoods and made some altered art fabric liners for them. I will be putting on some antique library label holders on them too. They are sitting on an old wardrobe trunk that I also found on craigslist.... but more on that later :)  

Sunday, March 18, 2012

My Table Top Mannequin and
Bortree Corsets Paper Doll Free Printable

I really have a treat for you today :) I don't know if you have noticed but I always try to post something that goes along with what I am working on. Well I have been working on my studio. I had planned to make one big post with all my studio projects but things are taking a bit longer than I had hoped... so I thought I would just start posting some of my smaller projects.

I bought this mannequin bust on ebay but as you can see it is not quite my style. A redo was in order. I hated the thought of having to sew a new cover so I thought I would try painting it first. Because I did not want to loose the softness or texture of the fabric, I used some textile medium with my acrylic paint and gave it a whirl... it worked! I added a candle stick to the bottom and then had my son cut me a stencil that I took from one of my favorite paper dolls for the wording.


It now has a home on top of my favorite project so far.. but more of that later.


The paper doll that I took my inspiration from is an advertising paper doll for corsets made by Bortree manufacturing. I hope you love her as much as I do :)


Feel free to pin the thumb above but please do not pin the actual download. I would like everyone to stop by here to download it so they don't miss all my other fun free downloads


Thursday, February 23, 2012

Tattered Lighting

Although I have not been blogging much and I had a ton of junk going on, I still somehow found time to do a few creative things around the house and I thought I would share one of them with you today.

I finally got hubby to run the electricity for the wall sconce I picked up on ebay. The shade it came with looked ridiculous. It was an oval but it hit the wall and was obviously too large. I wish I had taken a picture of it before...
So I picked up a round shade at the thrift shop and removed the paper from the wires. Then I cut a third off the back and straightened the wire that I removed, resoldered it back on so that it now had a flat side to go against the wall. Then I wrapped the entire frame with strips of torn muslin.


I sewed on sections of fabric and lace from my scrap bin, added some kewl buttons and...


I ended up with this... I was pretty happy with the outcome.


This is from the side. I wanted you to see how I sewed some of the scraps inside the frame and some on the outside of the frame... it really worked for that tattered effect I was after.


I have been up to a few more projects too! I think I mentioned I was working on a major redo of my studio so here is a sneek peek.


and this is a peek and one of the projects that I am working on too. This is a before glimpse however. I will be posting the before and after of all the projects soon!


Tuesday, November 9, 2010

More Rag Bracelets

Since these were made for friends, I wish I could have posted these last week for the Created by Hand challenge. The theme was friendship/love but I had to wait unit I had a chance to give them to there new owners. I actually had made another black one but I did not get a picture of it... drats! I had needed a last minute gift so I used the first one so I got busy and made the black one yesterday. I am so distressed now that I look at the picture I realized I forgot the beads on that one : /
 

They are all made with hand dyed fabric's and ribbon, antique buttons, lace and soldered charms. Most were dyed in the standard dye method but I did the gray with the microwave method. It was the first time I had used that method and for such a small amount of fabric it worked so great!

Monday, October 25, 2010

Tattered Cuff Bracelet

It is that time of year that I am working on stuff but I can't show it because my projects are going to be Christmas gifts. So this is a sneak peek and some of what I have been making. This one went to the beautiful Lynn of Trash to Treasures for her Birthday. It is made of vintage fabric's, trims and buttons. I did use a few new beads and a new clasp but I don't think it took away from that vintage feel.


She has been through so much the past few weeks that I was just going to stop by for a minute and drop it off however she was up and around enough to answer the door and invited me in. Her hubby (bless him) made me the most wonderful mocha latte and I was lucky enough to be able to sit on her lovely patio with her and visit for a little. If everyone can send there prayers... or if you don't believe your positive energy her way as I know no one more deserving. We are just all so fortunate to have her still with us :)

Wednesday, September 1, 2010

Saving Grace .... from a garden chill maybe

Sorry I am so late this week, my mom fell again and it kinda distracted me : / anyway... the theme this week at Mixed Media Monday is "Cool it down" . I am not much on blue so this teal is about as cool blue as I get... I do think this is really kewl though :)) and in real life the teal looks much lighter.


I am also entering this int Alter It Monthly for the September "Rust" theme.

I thought that I could use in in my bathroom. I have an old smashed shaving case that I am working on for in there too. The chain on the purse hangs from the back side of the purse so I intend to hang it on the wall open. Then I can use it to hold things I use everyday like my brush, comb and hair clips.

I rusted the frame and chain then used an image from my new "nicely nudes" collage sheet and printed it on fabric. She is nude in a garden so she must be cool :)) I covered it with cracked mica and used an old belt buckle for the frame. Then some antique lace and vintage brass and rusted metal findings finished it off.

Photo Update 9-25:
I have said this before... I just kept looking at it and feeling it was not quite done. I am honorable at taking things apart and redoing them.


Friday, August 20, 2010

Blisful ATC's Orange

Recently I joined the "Blissful ATC Swap" ... there link is now on my left hand sidebar... anyway my first swap there so I hope that it is ok to post these. The theme was "Orange" and below is the ATC I sent to my partner Laura It is done on crinkled tinfoil with Dresden foil trim. The dance hall girl is layered on an orange feather and her dance costume was glittered. I finished it off with some leaves stamped with "Dance" and a little metal corner scroll. It was really hard to get a good picture because the reflection off the glitter and the foil but then I always think they look better in real hands
Sent

This is the one that Laura sent. I have seen several felted ATC's online but this is the first time I have seen one in real life...what a treat as you can see! It too was hard to photograph and this picture really doesn't do it justice at all. It also had a really cute little backside but my camera ran out of battery by time I got a good one of the front. I do love it and will treasure having it in my little ATC collection


Received

Saturday, March 20, 2010

Artistic Souls Scarf


I am a member of two local art clubs and yesterday was the meeting of the souls ..... Artistic Souls that is :)) The wonderful Judy Johnson hosted and she presented this fabulous project. We started with a plain white silk scarf then we put texture sheets under it and then used a stippling brush to lightly brush across the surface with Fabrico ink. I used two textures and two colors. Once the background was done we stamped them. I use a stamp from hero arts and again the Fabrico ink. I just love it!


Here is a close up so you can see how the background looks


Saturday, February 27, 2010

Flower Fever :o

Literally! I think I mentioned that I had been a little under the weather ...yep I think it was flower fever. I am better now but I felt so bad I did not feel like doing anything but sitting in bed and watching TV....well that got old real quick! so I sat in bed, watched TV and made flowers.... Now I have a pile of fabric flowers that I have to figure out what to do with : / but aren't they pretty!


I put pin backs on some and sent them to friends. I think I might decorate some tee shirts and jeans with them too. They are so easy and I thought you might like to make some too!


I just folded a square of fabric in quarters, folded the top square section back to form a point, folded the bottom square section the same way so the whole thing was folded to a point. Then cut the top into a petal shape, unfold and you have a flower shape. Scrunch it in the center and tack it in place by hand. Do this in several sizes and layer them up. I did the same with a nylon sheer fabric and alternated the layers. I think it really made a difference.


Wednesday, February 17, 2010

My Little Monster Man

The other day I was visiting Totally Tutorials Blog and they had the cutest tutorial for making monster valentine cards by Art, Adventures, and Toddler. My grandbaby was visiting and when the little monster saw the monsters on the computer he of coarse wanted some. So I had the idea to make the little monsters more toddler friendly.

I just cut out two and added a little batting and a magnet. He played with them for hours! Luckily our coffee table is metal. I am not really an accomplished monster seamstress so they don't look quite as precise as the tutorial but our little monster was happy! He had on some little cargo paints that day and it was not long before he had one stuffed in each pant pocket :)


The little monster and his monsters


Friday, January 8, 2010

Marie Antoinette Fabric Collage Wallet

These is a couple examples of what I made for a local Christmas gifts fair. I did wallets, makeup bags, change purses and even key chains. Wow did they sell well. I had saved out several for gifts for friends too. I did not want them to see what they were getting so I had to wait to post. I also posted some to etsy but removed them when they sold locally.


Recently some of my friends were upset that someone had copied my idea... but the whole reason I post my work is so that I can encourage others to create art :) I am truly honored if someone likes what I have done enough to want to create something similar. I like to give a link back and a that would be great but I also understand that blogland is huge and we all belong to the same yahoo groups as well. Sometimes as artists we see something and it gets stuck in our creative subconscious and we really don't remember where we saw it so I understand that too .... now just go create something fabulous!!!
Inka :)

Friday, December 11, 2009

An Artistic Souls Christmas :)

Do you recognize the faces on those bags!


I am so fortunate to be a member Artistic Souls, a local stamping club in Eagle Idaho. We get together every month and share our art, food and fun :)) Each one of the members has so enriched my art and my life so this Christmas I wanted to do something special. I photoshoped our faces onto a vintage post card and created a faux newspaper article. Then I printed it on some vintage muslin and attached it to a canvas bag. I think I had more fun making these this past week than they did getting them. I just giggled all week long even joking with hubby how I had spent years learning how to sew a strait line and now I was having trouble sewing a crooked one...lol... But I loved how they came out and I think my friends did too :) If you would like to read our spoof article, I took a photo of it before I sewed them up. Click on the little thumb below and it will take you to a picture large enough to read.