Valentines Blog Party
...and have I got a romantic giveaway!
...and the winner is....Altered Route
This is one of my perfume bottle night lights. There is even a switch on the cord that turns It off and on.
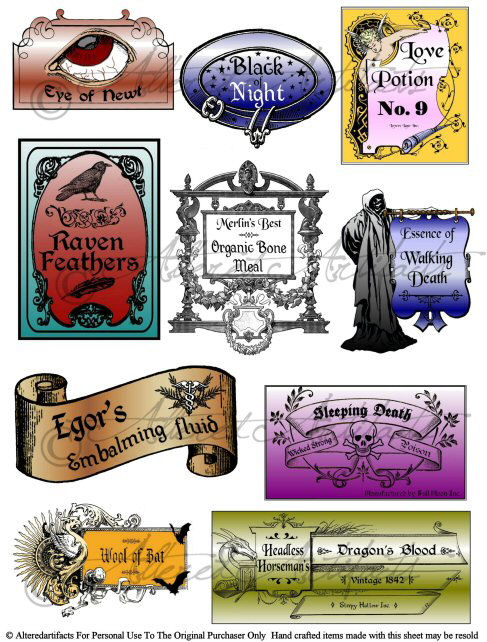
To make one yourself. First you will need to print your label. I have many to choose from in
my little etsy store. I feel they look much more authentic printed on brochure paper and edged with a gold paint pen.
This is a take off the popular wine bottle mood lights. I thought it was much more appropriate for a bedroom or bath. First you need to drill a hole in the back side of the bottle for your lights to go though. I used a dremel with a diamond bit. It takes some time and especially with this bottle as the glass at the base was almost ½ inch think : /
Once you have the hole though you can grind in a circular motion to make it as big as you like. Because of the time involved in making a hole large enough for a night light I opted for a 20 strand mini light set. I was able to get these even off season in the floral department of my local craft store.
Once you have your hole drilled clean the bottle well and drizzle alcohol inks in the color of choice. I kinda moved it around with my fingers until I got a marbled pattern. Once that is dry seal it with Matt finish clear acrylic spray. Let dry.
Once you have your label printed glue it to the bottle. You can use either a xyron, mounting adhesive or craft spray glue because when the light comes on you don’t want glue streaks to show. Then just poke your lights through the hole.
For the topper, I used some stiff craft wire and secure it to a chandelier crystal leaving about 1 ½ inches of wire. Twist this into a corkscrew shape. Glue a washer to the top of the bottle cork and screw the crystal in place. Cover the rest of the cork with silver metal tape. You can stop there but I wound some more of the craft wire around a pencil to form a spring. Then I flattened out the rings like a petal, bent the ends of the petals down and wrapped around the base of the crystal.