Tuesday, February 28, 2012
St Patrick's Coleen Free Printabe
Thursday, February 23, 2012
Tattered Lighting
Wednesday, September 28, 2011
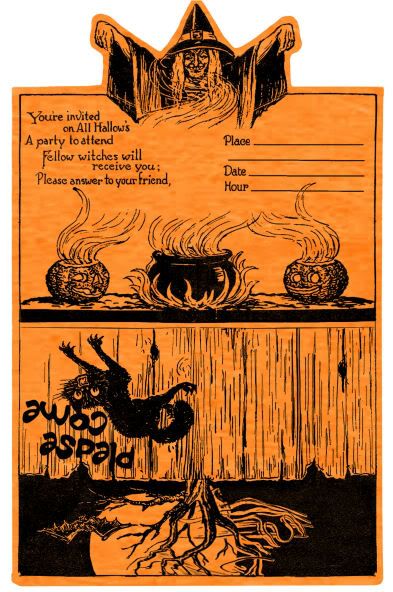
Vintage Halloween Hats Printables
My little grandson has been keeping me pretty busy. I know this picture is a little fuzzy but it was so cute I had to share it. It is pretty hard to get computer time because this little guy always wants to play on the computer but the time I have had has been spent scanning some of my recently acquired collectables to reproduce them.
We have been busy making lots of faux vintage stuff for our Halloween party too. This yeas as always our theme will be "Vintage Halloween" All of my actual vintage collectables are placed on display but I do my best to reproduce everything I can to actually use. I just won an auction for some crazy awesome vintage Halloween collectables too! I am a frenzied mess waiting for them to arrive. The Graphic for these little hats is in my little etsy store.
Saturday, August 27, 2011
I'm Backkkkk .......
is anyone still out there????
Oh and Baby printable
So I am back and I will try to make up for being gone over the next few weeks!
To start with I am posting this darling little baby graphic to celebrate the newest little member of our family.
Friday, June 17, 2011
Beautiful blooms!..
The best laid plans... lol. Since my last post I was informed that my niece in getting married. So my sister and I decided to delay the move so we could attend. As much as I wanted to get this move over with I am at least home when my Peonies were blooming.
Not only that... check out this vintage fencing at a local antiques store and the bed rails at a local yard sale. Since my back yard is already has a wood fence ... what could I want that for! ¯\(°‿o)/¯
I have several projects in the works in my back yard. The vintage fencing is one and another one will be utilizing these windows we found on Craigslist. I will be posting more on that soon too!
Sunday, June 12, 2011
Eagle Fun Days... NOT! Free Carnaval Printable
Things have just been crazy around our house, with getting the after winter yard work done and moving my studio to make room for my sisters arrival there just has not been time to breath but we had our grandson Saturday so we took the day off and went to the Eagle Fun Days. OMGosh I will never go again!!! I had expected it to be similar to the Emmett Cherry Festival and as I said... NOT. First of all we arrived and could not get within a mile of the place. But having promised our grandson a parade and carnival poppa put him up on his shoulders and we made the long trek to the parade route.
With my feet already killing me we watched there dismal excuse for a parade. It was a total joke consisting of Firetruck, Ambulances and nice cars. There was a couple of clown cars from Zamsows and a helicopter car and lots of acrobatic troupes followed but a bunch of kids with super soakers wetting everyone down. But our grand baby is 3 so he didn't know any better and he had a blast. We consoled ourselves with "that is what counts"... lolThen there was the carnival. It was over a mile away from the downtown area where the food court and their few vendors were... so another long walk. It was located on a vacant dirt lot that was covered with goat heads. Seriously, the soles of my shoes were covered solid with them. It also only had about 8 - 10 rides and a "midway" of a few games. Each ride cost about $2.75 and it took them over 5 minutes to load the ride then they ran the ride for only 1 minute : / Quinton was only big enough for 4 of them and I even had to ride one or he could not get on... so I squeezed my rather large "blank,it,e blank" onto the obviously too small seat so he could ride. Quinton however was delighted, he had no concept that grandma paid over $5.00 a ride so he could ride each one twice...lolTell this kid it was a disaster! Still.. if you are in the area, my advise is to skip "Eagle Fun Days" it is too spread out with no parking. Just save your money for the "Emmett Cherry Festival" the following week. I would have but I am leaving for California so I don't think I will be here. I will miss it though. All the kids in our family usually but the wrist bands so the cost is cut down quite a bit. It has a cute little parade that goes right by a lovely tree covered park were all the food booths, vendor booths and carnival is located and it has lots of parking. The entire thing has twice as many food booths, carnival rides and vendors and the cost is just about the same.
Sunday, June 5, 2011
I'm Published!
Whooo whooo!
Just out in Somerset Gallery is an article on Steampunk Birds. Several months back Lynn Stevens of Trash To Treasure Art hosted a play day in her lovely studio. Several friends got together for a day of artistic bonding, wonderful mocha lattes (made by Lynn's wonderful hubby) She hand carved us all a bird blank to start with and we went from there. It was a wonderful day and one I will always treasure!
This is my bird... I really think my pictures are better than the magazine :)) but they were trying to get all of them at there best angle so that makes it a little harder to photograph.
Our article did not make the the preview so I made a little preview for ya! ... Enjoy!
Sunday, May 29, 2011
Spring is in the air .❀·:·º°:·❀¸..°º:·..❀
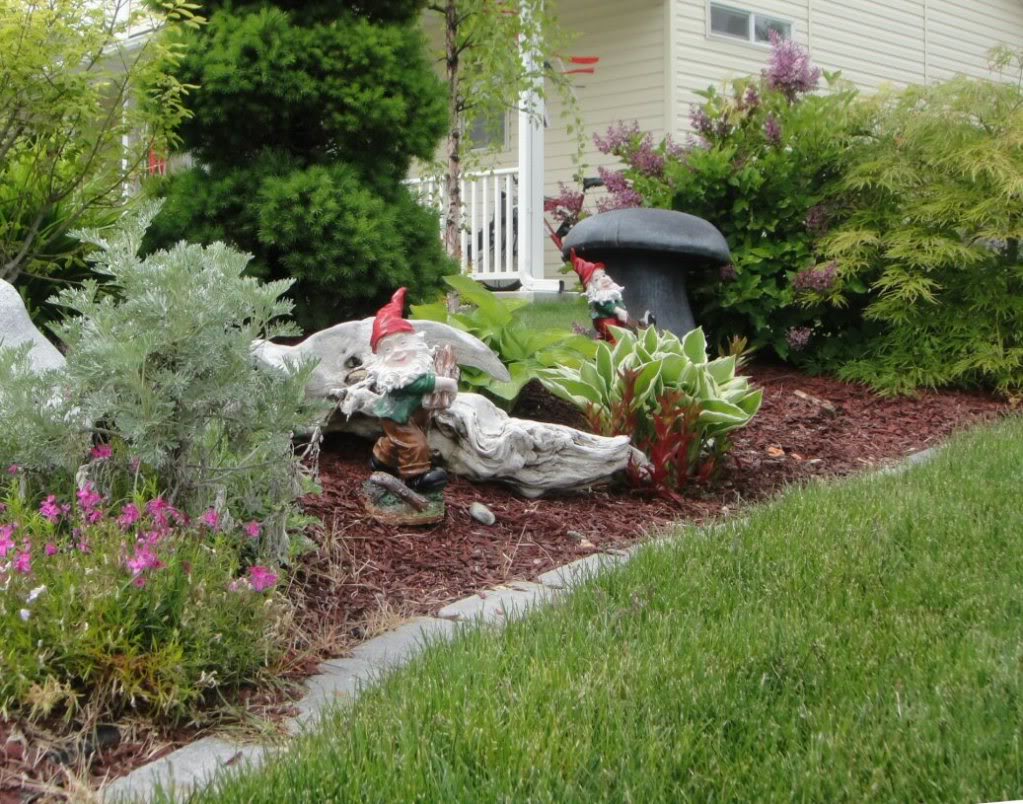
The snow has melted but it was an unusually harsh winter. The little gnomes in Inkaland were feeling a bit dreary.
So I took them shopping and bought them some new outfits and then we spent the day doing a bit of spring cleaning... we even gave our front doors a makeover.... yes... I think we are ready for spring.
I am so excited to see everything green and blooming! And once again happy little gnomes tidying things up.
Monday, May 9, 2011
Serving Up Silver Platter Paper Dolls
Did you know you can have yourself made into a paper doll? I have not had these listed for some time but just decided I would list them again. These are dolls I did of some of my friends sometime back but I just made some new sheets that you can steampunk any paper dolls with so I used them. This is such a fun idea... Just because I used my paper dolls you really can use any paper dolls.
I just love tarnished silver and I have been looking for ways to merge my art with my decor! Anyway... every time I see a piece of old silver plate in one of the local resale stores... I just have to buy it! Since I don't have a lot of storage in my little house, I have started to just put it on the walls.
Recently I discovered that magnets will stick to some of them. You do have to be careful though, not all silver plate platters will accept magnets. It depends on what base metal they were made with so test them before you buy them. Here are a few ideas I have come up with to give them a little more pizzazz. I have use the magnets to attach old photos and papers, I have added magnetic hooks to hold my jewelry
I colored them with watercolor crayons and then added some printed graphics from some of my other collage sheets to steampunk them out. I also added some real gears, feathers and chain to give them an additional layer of interest.
Tuesday, May 3, 2011
Change is in the air :D
I just changed my server and now have a new email address. If you have tried to reach me with no reply that is why : / Please update your address books :D Click the link on the right hand side bar to get updated!
Sunday, April 10, 2011
Vintage French Pierrot Marionette Clown Puppet
I have been so crazy busy! I did do a couple new collage sheets for circus theme art and gosh the examples the ladies on the list made are extraordinary! I have also done a new vintage puppet sheet with this guy on it.... now available in my little etsy store.
Tuesday, March 29, 2011
DIY Vintage Bohemian Chic
I hate to keep repeating myself but just for any new followers I will... lol. I lived in a Victorian home in California for 20 years. At that time I love Shabby Chic, but as I aged so did my love of color. When we moved here several years back, I decided for the first time in my life that I wanted new things. We had a house built and I bought the main furniture new. I still had a few old pieces that I just could not give up but I thought I could mix them with the new and come up with my "style". I just felt like I was living in a hotel, so I looked at my art (since that is what I love) and noticed that I just love things that are earth tones, old, rusted, tattered and worn. Looking around the net I discovered what I really wanted was something between Steampunk (Victorian with a futuristic twist) and Vintage Bohemian... I think I am leaning more toward the Vintage Bohemian.
I had a ton of those vintage pink rose shabby chic sheets in storage... just not my style anymore. So I got out my bottle of brown dye and went to work. They came out more of a mauve than they did brown but I still loved them. I think they totally look great on my bed and I really feel I have captured that Gypsy feel with the mix of textures and colors. I also had not realized how much I missed the feel of those vintage cotton sheets... there is just nothing like them :)
Friday, March 18, 2011
The Count's Castle
I have been working on this for some time now. I actually started the graphic's for it last year. I had wanted to do it for Halloween but time flew by and I knew I was not going to make it. So I started a Nutcracker theater, thinking I would have time to get that done before the Christmas season. Well that did not happen...lol
So off season or no I tend to work on my holiday projects year round because as you know by now, if I don't then it doesn't get done :)) I am calling this one "The Counts Castle" but I do intend to make some completer sheets for it in the future. Then it can be dressed for "The princess and the pea, Sleeping Beauty (a friends idea) and yes of course Haunted Halloween! It also might be a fun place for Marie Antoinette and her court to live.For those of you who have purchased the digital kit from my little etsy store, I also wanted to do a quick rundown on how I made it. I started with an old jewelry box from the local thrift shop. Then I cut a hole in the top. I left this kinda big so that it would be easy for little hands to maneuver the puppets.
Then I covered the box with the brick paper also in the kit. My box measured 7 inches high and 10 wide so the background paper was longer than the interior wall. Instead of wallpapering it to the back and bending it around the corners, I bowed it and just glued it in along the sides. I loved how it gave it a real theater feel.
I did the puppets, facade and the towers as I always do. I printed them on brochure paper but you can also use a light weight photo paper. Then I used spray glue to attach it to a medium weight matte board. You can purchase medium weight matt board at your local office supply store or just use the light weight gift boxes you get at the dollar store. Cut all the pieces out and sand the edges with a emery board..the heavy ones for artificial nails.
I curled the towers up and attached them to the sides. You can make them more pliable by pressing it against the corner edge of a table, in a sawing motion move the tower from side to side and it will start to curl, then go ahead and roll it into a tube. This way you will not get any wrinkles or bends in the matt board. Be sure to use a marker on the edges of all you pieces too. That way no one will see cut cardboard on the edges. If you do it right, it will be hard to tell it from a die cut image.
I have used some little wire puppet stands for display I used the picture from My Gotcher theater so you can see what the stands look like. Wands for "The show" and stands for display :) Don't forget to put a tab on the back of your doll to hook your wand to.
Little Clown Free Printable
Saturday, March 5, 2011
Just me and my art, tutorials
and free printable
Well I guess it is back to "All about me" :)) and things around this house has been just crazy. I did get this frame done and I am also adding a tutorial on how to make authentic looking cab cards below and a free printable to start you off.
The about me part, I have had company for the past couple of weeks and the last of them went home on the 3rd. Whew I thought! My son called me the next morning and told me my beautiful little grandson was sick. It did not look to serious but he was taking him to a doctors appointment. I told him to call me and let me know how he was. Shortly later my son called again and said that the little guy had Fifth disease, a virus that most children get. Between the time he had called me and the time he got him to the doctor he had broken out in the most awful red rash and even some blisters. So he had it to a more severe degree than most. It is not a virus that will really harm him as it will run it's course but if his momma who is 4 months pregnant contracted it there was a risk of significant harm to the unborn baby : / The doctor said it would be best if our little guy and his momma stayed in separate houses... sooo I have a sick little guy for the next week and his momma is in tears too since she can't be there for her sick little one. My son has been running back and forth between the two houses but each time he goes home he has to shower so our little momma doesn't catch it. I just keep saying "Gosh what next!" ... lol
How about how to make authentic looking cab cards!
First you will need to print your image (and you can use the one below) on semi gloss brochure paper. Then you need some light weight matt board, like the white gift boxes you can get from the dollar store. Oh yes, you will also need a can of craft spray glue.
Cut out the image you are going to use for the front of the cab card and spray glue the backside. Stick it to the light weight matt board and let that dry. Cut out the image you are going to use for the backside leaving about a 14 inch extra around the edges. Spray the backside of your image with glue. Then lay the image already on the matt board onto a light box or hold it against a window so you can see where the edges of the card will be. Align the front image with the back image. Once dry using your already cut out image, cut the matt board and the backside image to match the front.
Use an ink that matches the print all around the edges also touching it here and there direct to the paper on both the front and the back. Then blend it all with a blending solution or a blending pen. Since I had used a laser printer, I could just use alcohol.
I also bend it here and there and bang the corners to give them the look of having been handled through the years.
Friday, March 4, 2011
Flaunting on Friday no more :(
Well I think I gave it a try but I had so many problems. First of all the linky did not work half the time. I had so many tell me that it made my blog load slow or they could not figure out how to use it. I did not find too many who were interested either :( But the entries I did get were phenomenal! and I so enjoyed each one! I want to offer a special thank you to everyone who entered!
This week I had to choose the "Clock Maker Box" by Nancy over at The Trinket Collector. It is the perfect little box for a little wind up "steampunk" to live in and I just love the way she scrunched the clock faces!
Congratulations Nancy ... Visit my little etsy store and choose a single collage sheet. Email me your choice and I will get that sent off to you :)
Thursday, February 24, 2011
Flaunt Friday 2-25-11
Oh gosh... I hope you don't all think that I am going to pick a theater every time but I just had to choose this one by Michelle over at Nacreous Alchemy! She used the "Goacher Theater" collage sheet to create this stunning little version of a Moulin Rouge theater. For her entry she gets to choose a single collage sheet from my little etsy store!
So come and play along!
Have you created any artsy goodies that you used an image you got from Altered Artifacts? You can use any of the images available at my little Etsy store or one of the many free images posted here on my blog in the past! Join in and get a chance to win a free collage sheet from me!
Also just for entering you will get a free bonus image
exclusively for entries only! Just email me with I entered in the subject line and I will email you back your free bonus image!!!
I send really yummy bonus's so don't forget to email me!
Use the link below in the Linky box to add your project to the list!
Make sure to post a way to contact you as well so I can send you a fun bonus image!
Easter Bunnies Troupe
In honor of the upcoming holiday, I made a little bunnies pendant! I had to print it really small for my little pendant but I sized it down successfully.
Friday, February 18, 2011
Flaunt Friday 2-18-11
I love the Fairy Theater 1 by Jo Anne Webster. Now she doesn't have a blog so I hosted her photo for her.
And this little cabinet with the painted bunny is so yummy!!! I am at awe how Amy was able to turn a little black and white image into such a stunning little work of art!
We had a little bump last week since Linky was upgrading its server so it was not working for some time. I think we lost several entry's. I too am still working out the kinks. I have it set now to end on Thursday midnight so I can do the new post on Friday.
Have you created any artsy goodies that you used an image you got from Altered Artifacts? You can use any of the images available at my little Etsy store or one of the many free images posted here on my blog in the past! Join in and get a chance to win a free collage sheet from me!
Also just for entering you will get a free bonus image
exclusively for entries only! Just email me with I entered in the subject line and I will email you back your free bonus image!!!
I send really yummy bonus's so don't forget to email me!
Use the link below in the Linky box to add your project to the list!
Make sure to post a way to contact you as well so I can send you a fun bonus image!